Your cart is currently empty!

How to Successfully Grow Your Garden From Seeds Indoors
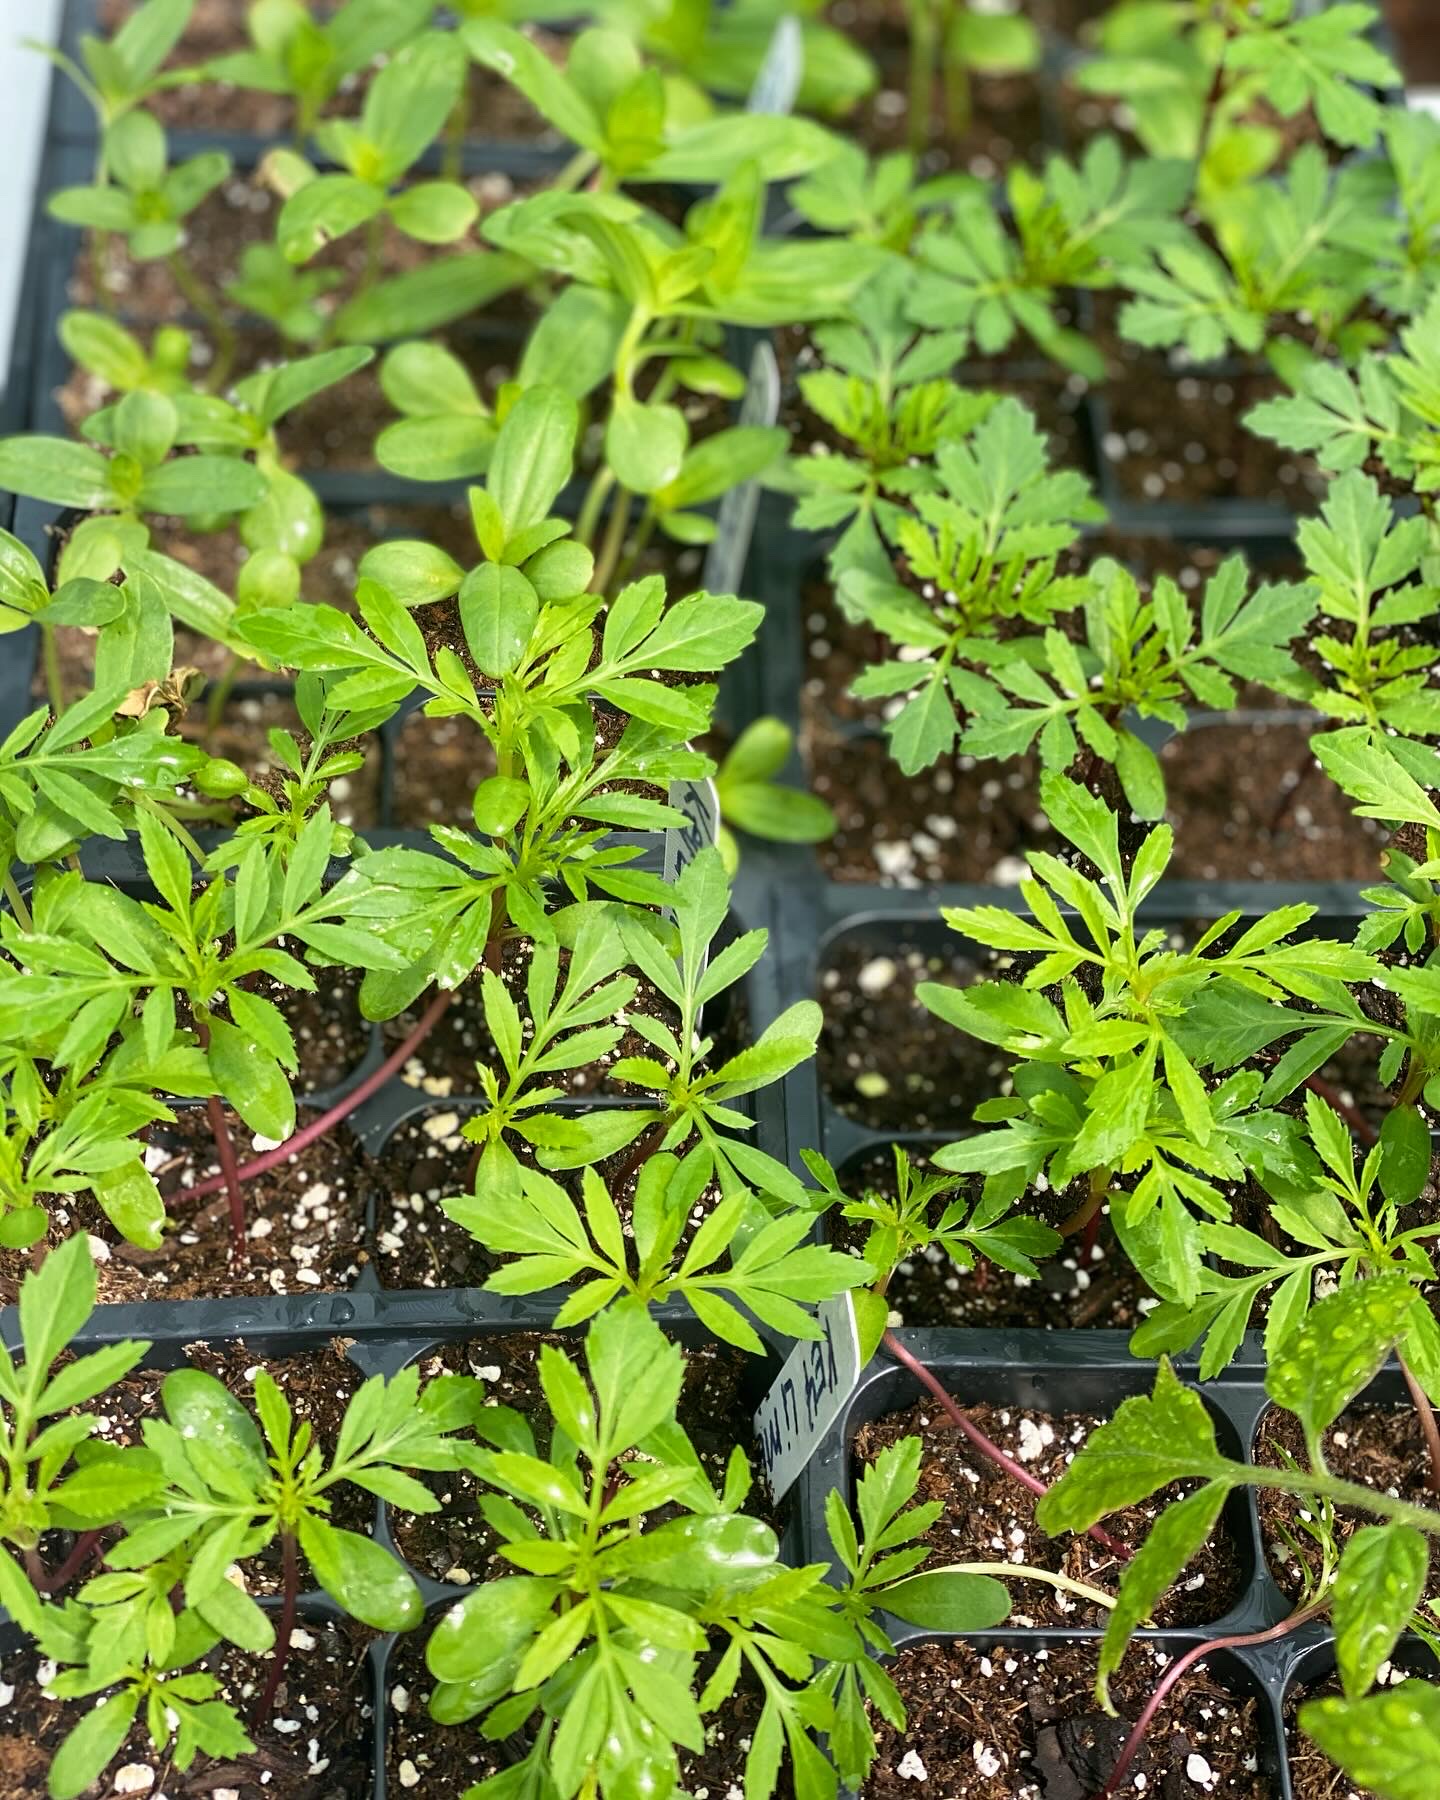
I start almost all of my vegetables and annual flowers for my garden from seeds indoors every year. It is the way to go if you want to grow unique varieties of your favorite plants. In addition, you as the gardener are in total control of the health of your plants. There is no mystery to where it came from or what type of soil it is being grown in. There are many variables when creating the perfect environment for raising seedlings and this article will teach you step by step how to grow strong healthy plants from seeds indoors.

Top 6 Reasons Why I Start My Own Seeds
- Culinary Uses– I love to cook, and grocery store produce is junk and not enough options. Produce can begin to lose nutrients immediately after harvest and do not have the same flavor as fresh homegrown. I like to cook a variety of cuisines and many times the stores will not carry a certain herb or odd vegetable that my recipe calls for.
- Connection to Nature– Winters in Minnesota can become long, cold, and gray after the holidays are over and have us gardeners wishing every day for spring. Setting up an indoor greenhouse and tending to plants is a great way to get a head start on the gardening season for those of us eager to get outdoors. Research shows being around plants and nature improves mood and mental health.
- Variety– Most garden centers will only sell certain varieties of a vegetable, but when growing from seed the selection is enormous. You’ll be amazed at the colors and shapes vegetables come in. Dozens of tomatoes, peppers and herb choices are available. Many seeds will come as dwarf size or container friendly for small garden spaces. You can even find baby corn on the cob for a patio container.
- Cost– Once I realized I was paying almost $7 for a low-quality basil or squash plant, I made the move to grow all my produce and flowering annuals from seeds. There is definitely more work involved but if you’re an avid gardener you will not mind raising seedlings!
- Sharing– Giving away plants to friends and neighbors is a huge reason why I love to start my own seeds. This way it is possible to grow a lot of plants and share your garden love with others without going broke!
- Teaching– The science behind a seed sprouting when given the right conditions and being able to turn it into food for nourishment is a lesson every human should learn. Being a Master Gardener is about teaching the community how to grow and harvest their own food, connect with nature, help our endangered pollinators, and how to garden smartly using researched methods.
Select a Location
Before you buy every gorgeous seed packet you see, evaluate the space you have to grow. If you only want a tray or two of tomatoes, the countertop with a grow light under a cabinet would suffice. For a new gardener who wants to try a few different types of vegetables or flowers I would suggest getting a mini-indoor greenhouse like this one pictured below. I set up a couple of these during the indoor growing season fitted with lights and heat mats and fill with onions, tomatoes, peppers, snapdragons, and coleus to name a few. When choosing your location keep away from cold drafts and heat vents. Temperatures will need to be between 67-75 degrees for optimal plant growth. If the room is too cold, plants could suffer and succumb to disease and rot.

Shopping for Seeds
Buying seeds is very addictive when your mailbox is flooded with beautiful seed catalogs in the middle of winter. I suggest you sign up for all of them, it is such a pleasure to browse through photographs of garden fresh cucumbers or the newest varieties of zinnias in January.

There are a handful of online seed companies that I have used over the last ten years and will always be a repeat customer. Be sure to sign up for emails to receive discounts. These are my favorite online shops to purchase seeds from.
- Baker Creek Seed
- Territorial Seed
- Pinetree Garden Seeds – Superseeds.com
- Burpee Seeds and Plants – Home Garden, Vegetable Seeds, Annual Flowers – Burpee
- Johnny’s Selected Seeds | Supporting Farms & Gardens Since 1978
- Gurney’s – America’s Most Complete Seed and Nursery
- Flower Bulbs & Heirloom Seeds | Vegetables, Herbs, and Wildflowers – Eden Brothers
- Seeds for Sale – Buy Garden Seeds | Park Seed
- True Leaf Market | True Leaf Market Seed Company
- Renee’s Garden Seed

If shopping online is not for you, plenty of box stores sell a variety of flower, vegetable, and perennial seeds. Menards, Home Depot, Fleet Farm, and even Walmart sell seed starting gear this time of year. Burpee is the most popular brand you’ll recognize and has a good reputation for quality seeds with high germination rates. Selection is not as wide as what you’ll find on their website but the prices are lower in store. It is still a much larger variety of plants to choose from to grow in your garden than if you purchased from the nursery.
Be sure to check each seed packet for specific growing information to make sure there is enough time from sowing indoors until the plant is ready to move outdoors and produce a harvest before the first season ending frost. Vegetables like peppers need to be started indoors in early March at the latest.
When To Start Seeds Indoors
This will vary depending on the seed you are growing and what your grow zone is. In zone 5a (Twin Cities, MN area), the average date is around May 1. This is the date you will count backwards from in weeks indicated on the seed packet to start indoors. So, if my packet of San Marzano tomatoes says to start 6-8 weeks before last frost date, I would sow my seeds indoors around St. Patrick’s Day. Every spring is unpredictable and there is no exact date on when you must start your seeds, just stay within the guidelines and your plants will be fine.

Common Vegetable and Annual Seeds
| Seed | Average Indoor Sow Date |
| Basil | Mid-Late March |
| Broccoli | Mid-Late February |
| Brussels Sprouts | Mid-Late February |
| Cabbage | Mid-Late February |
| Cauliflower | Mid-Late February |
| Celery | Early-Mid February |
| Cucumbers | Mid-Late April |
| Eggplant | Late February-Early March |
| Kale | Mid-Late March |
| Onions | Early February |
| Pepper | Late February-Early March |
| Pumpkin | Mid-Late April |
| Squash | Mid-Late April |
| Tomato | Mid-Late March |
| Pansy/Viola | Early February |
| Coleus | Mid-Late February |
| Snapdragons | Mid-Late February |
| Marigolds | Mid-Late March |
| Cosmos | Mid-Late April |
| Zinnias | Mid-Late April |
| Nasturtium | Mid-Late March |
Equipment Needed
- Seed starting mix
- Seeds
- Labels/Sharpie
- Containers for growing: This could be plastic growing cells, reusable silicone trays, crafted pots from newspapers/toilet paper rolls, pellets, biodegradable pots, recycled yogurt cups, and even egg cartons. Be sure there is good drainage no matter which container you choose.
- Tray for holding containers
- Clear plastic dome
- Chopstick or pencil to poke hole for seeds
- Spray bottle
- Fluorescent lights or grow lights
- Small desk size fan
- Heat mat
- Shelving or small indoor greenhouse


Indoor seed starting should not have to cost a lot of money, but like any hobby there is usually an investment to start out. Here are a few tips to save some cash when starting out with an indoor greenhouse.
- Make your own seed starting mix- See my recipe at the end on how to make your own homemade soil-less seed starting mix.
- Use recycled items from around the house or garage to make seed pots. This is also a great craft for kids. Save old food containers and plastic bins from store produce.
- Lighting does not have to be complicated. Amazon sells affordable grow light kits that are simple to set up and last for many years. Same goes for heat mats. I bought a two pack in 2018 that are still going strong in 2025! You could also probably find these items on a neighborhood for sale group.
- Sell your seedlings or excess produce from your new garden and invest into the next season of gardening 🙂

Step By Step: How to Sow Seeds Indoors
- Start with clean and disinfected pots and tools. Disease can easily spread to tender seedlings from unsanitary equipment.
- Read seed packet carefully for specific growing instructions. Some seeds may require light or pre-soaking for germination.
- Prepare seed starting soil if making homemade. Recipe below.
- Lightly moisten your soil and fill cells halfway and tamper down, add more soil until near top and press down.
- Poke hole with chop stick at proper depth for seed planting. It is usually twice as deep as the width of seed, but the packet should include this information.
- Cover your seeds with more soil and water with a spray bottle. For very tiny seeds, they may sprinkled on the surface and misted in.
- Label your seeds!
- Cover seeds with a clear plastic dome or wrap and place on heat mat until seeds sprout. As soon as seedlings emerge remove the dome and place 2-4 inches under the grow lights. Adjust the lights heights as the plants grow, keeping them on 12-16 hours a day. Using a timer will help you remember to turn on and off every day. Do not use a windowsill for light, plants will grow leggy and there is too much temperature fluctuation by a window.
- Check moisture level daily and water as needed. Spraying with a water bottle is recommended while seedlings are still tiny and tender. Bottom watering is another preferred way of ensuring plants are getting a deep thorough soak. To do this add water to the tray the pots are in, and the roots will soak up the water from the bottom. Once seedlings are an inch or two tall add a small fan to mimic wind and strengthen stems. This will also encourage air flow among plants
- Once plants start to outgrow their starter cells they may need to be thinned out and potted up into larger containers. Now is also the time to fertilize your plants also.
- Continue to keep plants under lights and monitor moisture. Watch for signs of any disease and treat promptly.
- Around 7-10 days before our plants make their permanent home outdoors in the garden you will need to harden them off, which means to gradually introduce the plants to the outdoor elements. On day 1 you can begin by bringing them outside for a few hours in a shady area protected from the wind. Day 2 you will add a few more hours outside still in a protected area. Day 3 mix in a little sun for some time in a little less protected area. Continue to do this for a week or two adding a little more time, sun, and wind each day. If this is not done, plants will experience shock and sunburn.
- Your plants are now ready to go in the ground! Plan on planting early in the morning or later in afternoon on an overcast day. Do not plant if the soil is too wet and avoid walking on the ground if saturated.
Homemade Seed Starter Soil Recipe:
8 parts coconut coir or sphagnum peat moss
1 part vermiculite
1 part perlite
Worm castings- no more than 10% of mixture
In a large bin combine ingredients and lightly moisten. Keep extra soil in a sealed container.
Common Problems
Not all seeds will germinate and survive until spring planting. But with proper preparation and care you can give your plants the best chance at a healthy life. I have killed off plenty of seedlings and there are few variables that usually play a role in how that happens.
- Old or non-viable seeds. Over time germination rates will decrease when using older seeds.
- Soil temperature is too low. Tender seedlings need warmth to grow and if the soil is cool and wet they will not thrive and could die.
- Too much or too little water. If you over water plants the roots will drown without oxygen, and if they do not receive enough water seedlings will wither and die.
- Damping off- This deadly seedling condition is caused by mold or fungus that thrives in cool wet conditions. It can wipe out an entire tray of seedlings. This is why it is crucial to ensure proper air flow between plants, sterilization, and maintain good drainage.
- Leggy plants- You can prevent plants from becoming tall and skinny by using grow lights and not relying on natural light from a window. We do not get enough sunlight during the day to grow strong healthy plants indoors.
You do not have to have a green thumb or any gardening experience to start your own seeds. With simple care and providing the right conditions, seeds are able to thrive and grow indoors. Mistakes will be made, and not all seedlings will survive, and that is okay because you will learn what works and what doesn’t. For greatest chances of success make sure you provide the plants enough light, water, good drainage and air flow, and stable temperatures.


